Wednesday, August 22, 2018

Sunshiny Days!

Hi everyone! This is Tina from The Scrappin Rabbit blog and I have a card featuring the lovely Annie- Sunshiny Days stamp set.


I colored her up using Copics. I added some pencil details along her hat and white gel pen over her suit. For the background panel I cut some water color paper using the Jaded Blossom Card Mat Dies. I blended the soft background using distress inks.


Finally I stamped and embossed the sentiment.

Thanks for stopping by! To visit the shop click below:

Shop With Me

Tuesday, August 21, 2018

You're One In A Melon

Hi everyone! This is GiGi from The Cricut Bug and I have a card to share.  
I used the Dorothy-Have A Sweet Day stamp set to create my card.


I started this card with a standard A2 card base and added the background mat cut with the Jaded Blossom Card Mat Dies.
I used watered down ink to do the grass and added a strip of decorative washi tape to the side.
I cut the circle mats using the Stitched Circle and Scallop Circle Dies and stamped Dorothy in the center, coloring her with copic markers.
To finish, I stamped the sentiment using the Berrylicious stamp set onto the banner cut with the Card Layer Dies 1 and  Flag Dies 2.

I hope you all liked my card for today and thanks for visiting!


Have a great day!
GiGi

Monday, August 20, 2018

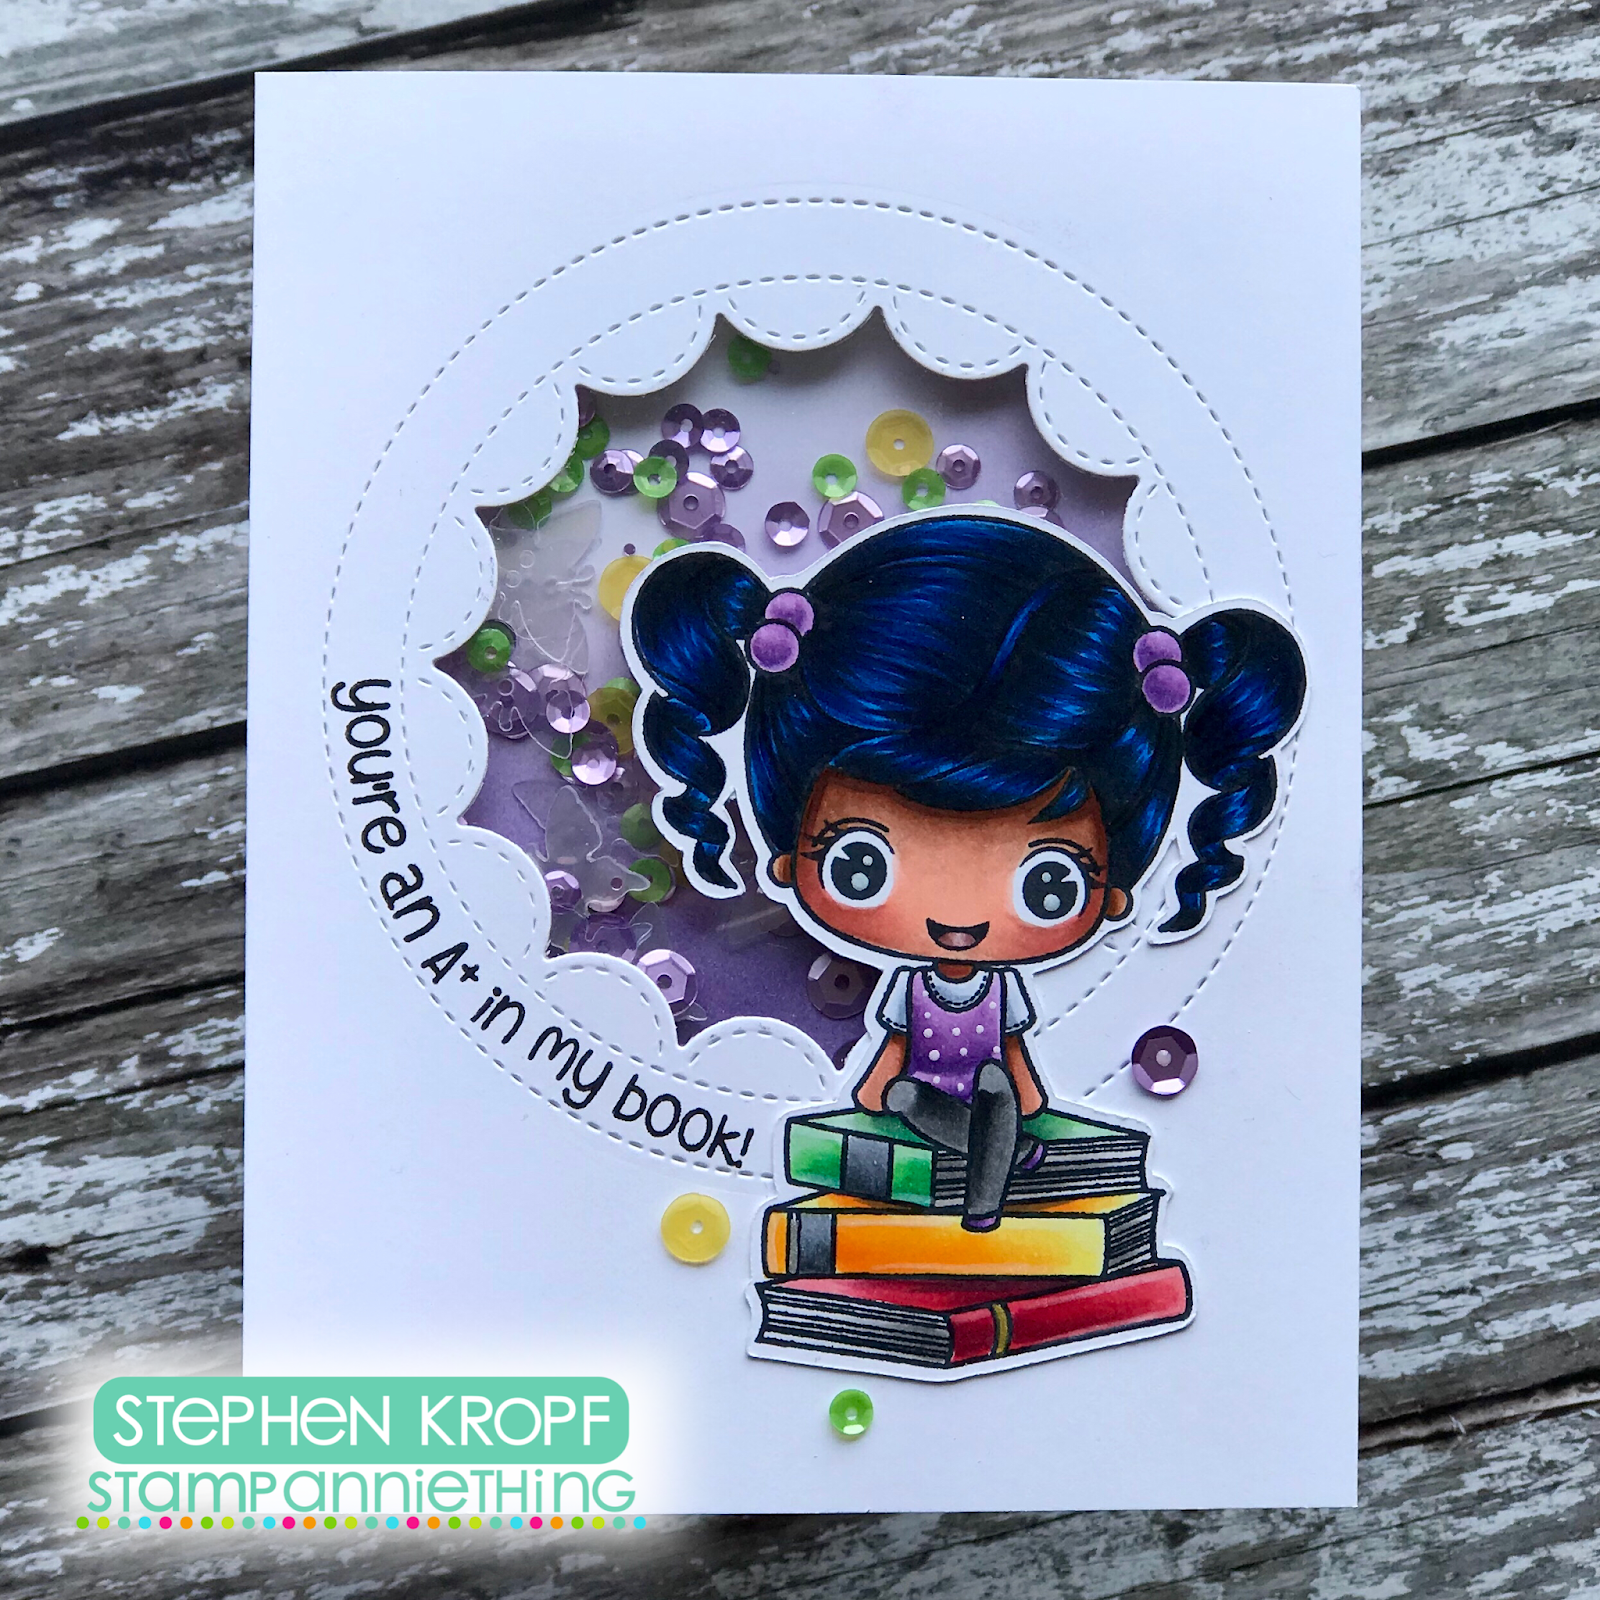
Abigail - You're an A+ In My Book

Hi Friends! Im popping in today with another card creation for Stamp AnnieThing!


I created the perfect card for any book lover in your life...its a clean and simple shaker card that you can whip up super quick.

I kept my card base white, die cut out a circle window and then stamped the sentiment to follow the curve of the circle. I ink blended the area behind the window with some purple Distress Ink and filled the opening with a fun shaker mix. I used Abigail - AIn My Book and coloured her with Copic markers. To finish off my card, I added a few of the matching sequins from the shaker mix around the card front to tie it all together.

I hope you liked my card creation for this week! 

Until next time - Stephen 

Friday, August 17, 2018

Waving Hello


Hello everyone:)Eunji here.Today I am making the Summer card.Let's look at my card.


I started stamping a mermaid lady  image stamp on maker paper from Sending Oceans of Love, Waving Hello set.
And colored with Copic Sketch maker and added more details using color pencil.
Then fussy cut leaving thin border.
And colored a background with Ken Oliver color powder.
Dried it all, stamped a background stamps and adhered to the mermaid on card panel with foam tape.
Lastly stamped a sentiment stamp and added a sequins.


Thank you for visit my blog.
Hugs:)


Thursday, August 16, 2018

thank you for being so "Oz" some!!

Hi there!!  Nicole here today with a fun card to share -


I had a lot of fun putting this card together.  I created the background using the "Falling Stars Stencil" and a couple of distress oxide inks - I believe I used squeezed lemonade and spiced marmalade.  
The image is from "Glinda - Not Your Basic Witch" and I used some accessories and a sentiment from the "Land of Oz" sentiments stamp set.  I embossed the sentiment in white and finished up my project with some stickles and some clear sequins.

Shop With Me

Wednesday, August 15, 2018

Wavy Hair Tutorial with Chloe from Stamp AnnieThing

Hello Stamp AnnieThing fans and friends! Michelle Houghton here sharing a little SAT inspiration and another Copic coloring tutorial with the fabulous SAT stamps!

I recently got a request for a Copic tutorial on coloring wavy hair. Low and behold there are several SAT stamps that have beautiful long wavy hair so perfect! I chose a recent release Chloe - Pehea "Oer to share some tips and tricks.

I have a video in a link at the bottom of the post with a full tutorial if you would like to see the coloring in action, but here is a peak at what I do with wavy hair.

I color wavy hair in one of three ways so here is the same image colored with the same 4 colors 3 different ways:


1 - Loose - This quick and easy style shows the curl, but does not follow the artist's lines so is simple and easy.


2 - From inside to outside - On this image each section is colored darker in toward the figure and lighter as you move out away from Chloe.


3 - Each wave - On the third image I worked into each individual wave. Where hair section dips inward it gets darker and as it curves away it gets lighter. This technique takes the longest, but also has some of the most striking results.


 Here is a look at all three techniques side by side:


I decided to finish one up and get her on a card and here are the results and a closer look at the hair and skin:


Here is a direct link to see all the hair coloring!


Have a Happy Colorful Day!


Tuesday, August 14, 2018

Hi There!

Hey Everyone! It's Candace from Candi O. Designs and it's my day to post over at Stamp Anniething.  
I made a card using Felicity ~ Enjoy your Trip.  I was inspired by the new Carta Bella papers.

Products Used:
Paper: Carta Bella ~ Pack Your BagsCopics

Hope you liked my card today and thanks for stopping by!!

Shop With Me